Experts explain why you should start preparing now.
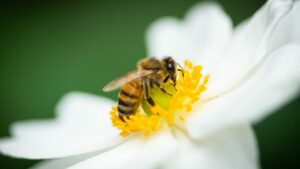
As harvest season continues, some farmers have turned their attention to planting, but not necessarily planting their fields. Rather, they are planting pollinator plots.
In some areas, fall is actually the best time to plant wildflower seeds for pollinator habitats. Other areas seem to do better when planted in the spring or summer; even then site preparation is best done in the fall.
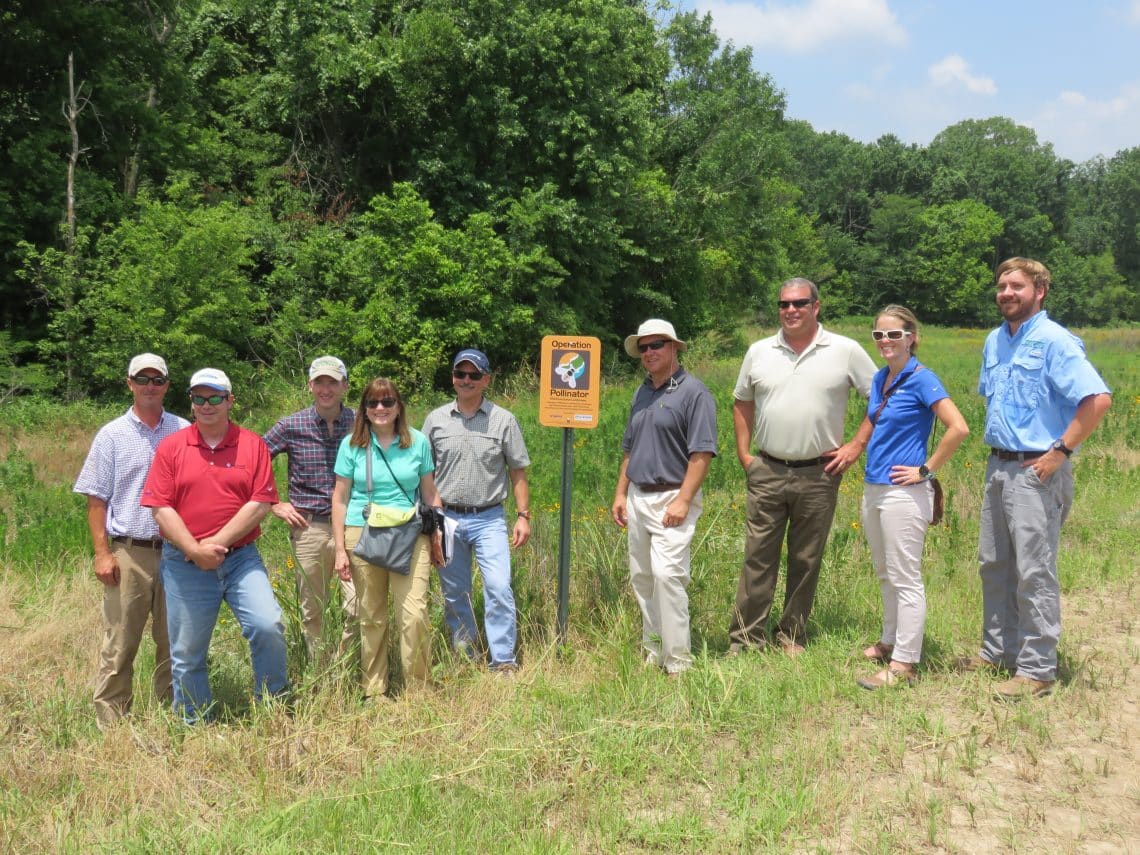
Syngenta recently developed an Operation Pollinator guide for farmers who want to convert unused land to pollinator habitat. The guide outlines steps farmers can take starting in the fall. Tim Huggins, a natural resource specialist at the Delta F.A.R.M. in Mississippi, has experience setting up Operation Pollinator plots on farmland. He says the guide is a great starting point for farmers.
“It covers the basics on the how and why to get started,” Huggins shares. “It has a lot of great information that can be used as a jumping off tool for farmers, and then they can tailor the program to their operation.”
Site Selection
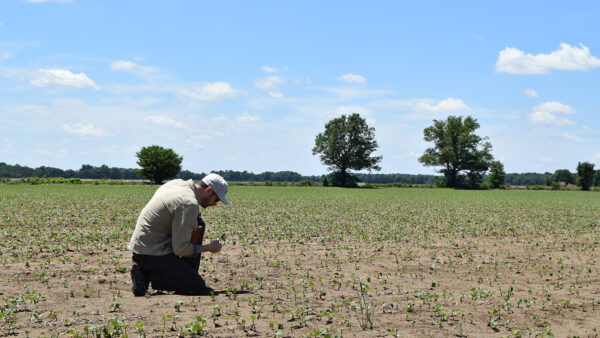
The first stage in establishing a pollinator plot is site selection. Farmers typically start by identifying areas of their operation that aren’t as productive. However, areas that are too wet for row crops could also prove too wet for pollinator plots.
“Poor site selection is one of the biggest issues we face,” Huggins says. “If farmers are dealing with a little excess moisture in the area, there are specific seed mixes we can choose to try there, but nothing will grow if the area is consistently dealing with standing water or something like that.”
Huggins advises looking for an area that needs to be mowed each year or an old building site that isn’t cultivated. For Operation Pollinator, a plot should ideally be about an acre in size. Other conservation stewardship programs focus on larger sites for larger payment incentives, while other farmers choose to create several smaller plots.
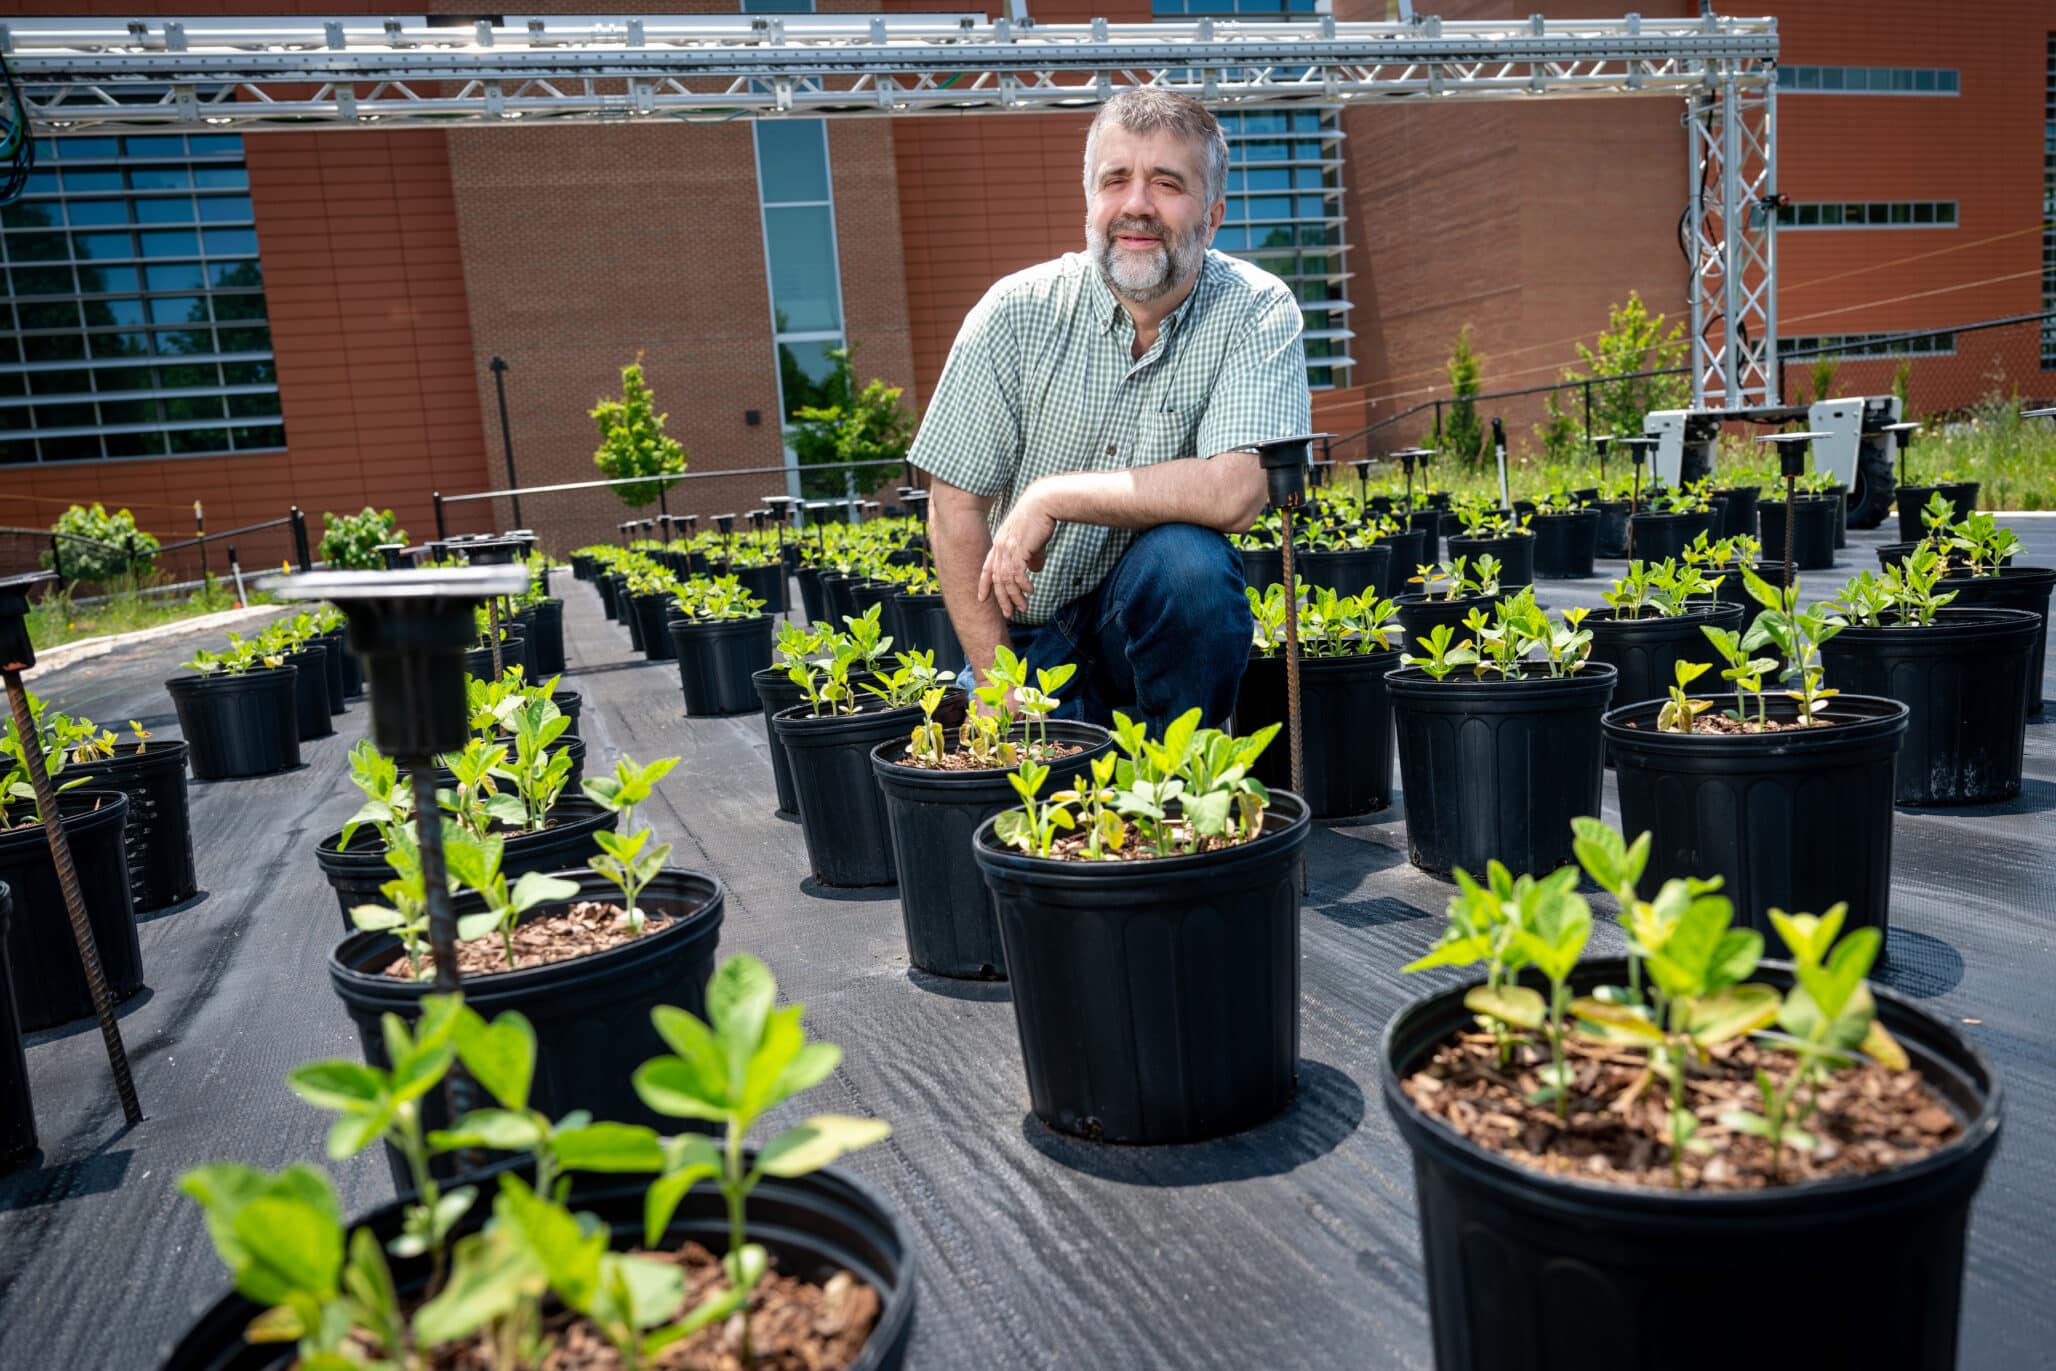
Chuck Foresman, a Syngenta digital agriculture technical agronomy lead based in Greensboro, N.C., operates Foresman Family Farm in central Illinois in partnership with his siblings and son. They are in their first year of managing pollinator plots on their farm, and have even added two bee hives.
“My son Charlie is very interested in pollinators, and he’s been influential in getting this set up,” Foresman shares.
The Foresman family has three small pollinator plots, one chosen because it was near a pond and the hives. The other two are located around the bases of large electrical towers near the road.
“We wanted to reclaim those tower sites, and eliminate the unsightly weeds that took over those areas, and we also liked those spots because they were near the road so our neighbors could see them,” Foresman says. “We think it’s important for the non-farming community to know we invest in stewardship of our agricultural environment.”
Another factor to consider when choosing a pollinator site is protection. Would the site be protected, at least on one side, to avoid any potential drift or overspray from chemical applications in the field?
“A lot of these pollinator-friendly plants would be easily damaged by traditional herbicides that might be applied to row crops,” Huggins notes.
Seed Selection and Site Establishment
The next stage of the process involves working with a supplier to choose an appropriate mix of seeds, and then correctly preparing the site. At a minimum, this process should be started more than a month before the estimated planting date of the site, which is ideally in the fall of the year, at least in some areas on the country.
“In the mid-south, these types of seeds germinate best in the spring if we get them planted in the fall,” Huggins says.
For example, for a Nov. 1 planting date, Huggins suggests preparing the site by the first week of October.
“We recommend a double herbicide burn down. We spray the site with glyphosate, and then wait a couple of weeks for it to re-germinate, and then we spray the site again and wait another couple of weeks,” Huggins says.
Meanwhile, in the Midwest, Foresman says they had the best luck with a herbicide application in the fall and then letting it grow back over the winter. He suggests a second herbicide application in the spring, followed by a double tilling process a couple of weeks apart to eliminate any late emerging weeds.
However, Huggins prefers a no-till method in his area of the country.
“I recommend not doing any tillage when the site is planted in the fall,” Huggins says. “I In my experience, weed pressure is our biggest limiting factor, and that helps eliminate a lot of the weed issues.
“If you till that ground, those weed seeds will germinate and out compete the wildflowers you’re trying to establish.”
Foresman also recommends doing a soil test before planting, and adding any necessary amendments.
Site Maintenance
The first couple of years are the hardest. “The first two years are critical, but as the site gets more mature, the long-term maintenance decreases,” Huggins says.
Weeds remain the biggest concern throughout this process.
“Farmers don’t like to see weeds anywhere near their fields because of how fast they can creep in and take over, so we have to work to keep those problem plants out of our plots,” he adds.
If a site gets good establishment, there are no reseeding costs, so the only additional investment is the labor and minimal herbicide required to keep the weeds under control.
Foresman agrees that maintenance will decrease as the plots mature.
“We had a lot of ragweed and foxtail come up in our plot,” he says. “The foxtail is easier to get rid of because the pollinator-friendly perennials are broadleaves, so a grass killer will selectively remove unwanted grass.”
However, ragweed has to be carefully spot sprayed or pulled by hand.
Another helpful technique is to mow around the perimeter of the plots to keep encroachment down.
“You can manage the weeds up to 90 percent simply by properly preparing the plot before you plant,” Foresman says. “You can’t just go out and work the ground once and plant the pollinator seeds and expect success.”
Huggins and Foresman agree the best approach is to prepare the ground in September or October, and then either planting in the fall or spring, depending on winter conditions in a given area.
Worth the Wait
The last thing Huggins recommends farmers have before they start work on a pollinator plot is patience.
“It takes time and effort to establish a pollinator plot,” he says. “It may not look great the first year, so they have to push past that ‘ugly’ phase.”
Some farmers, he says, are tempted to mow it and give up that first spring. Foresman agrees but says the benefits are well worth the wait.
“We made some mistakes, but we’ve learned a lot,” says Foresman, noting that he doesn’t exactly consider his plots a success yet. But he believes they’re on track to be great. “Honestly, I’m not sure why we didn’t do this sooner,” he says.
Foresman sees a number of benefits in establishing a pollinator plot, from the environmental impacts to the future of the agricultural community as a whole.
“I’ve seen these projects really catch the attention of the younger generations,” he says. “It’s a fun challenge, and it’s interesting, and they will start to see the long-term benefits of their efforts.
“My grandkids have been inspired to get involved with agriculture in a new way and hopefully will even consider it as a lifelong journey. Any investment you put into establishing these plots will be well worth it.”